When we bought our house in Watertown, Massachusetts at the end of 2023, it was just about perfect, at least from our point of view. The house was built in the 1920s and had historic character, but it had also been renovated and updated with modern appliances, heating, cooling, and water systems. It has beautiful trees and a nice backyard, but it is also in a relatively dense urban setting right next to Cambridge and just across the Charles River from Boston.
As part of the renovation before we bought the house the top floor attic had been converted into a master suite with its own bathroom and small outdoor deck with a view of the neighborhood and Watertown’s athletic fields. The only downside of the master suite was that there was only a half wall and no door between the bedroom and stairway to the second floor. We occasionally found that it would be nice to have a bit more privacy and soundproofing, especially when we had family and visitors staying with us.
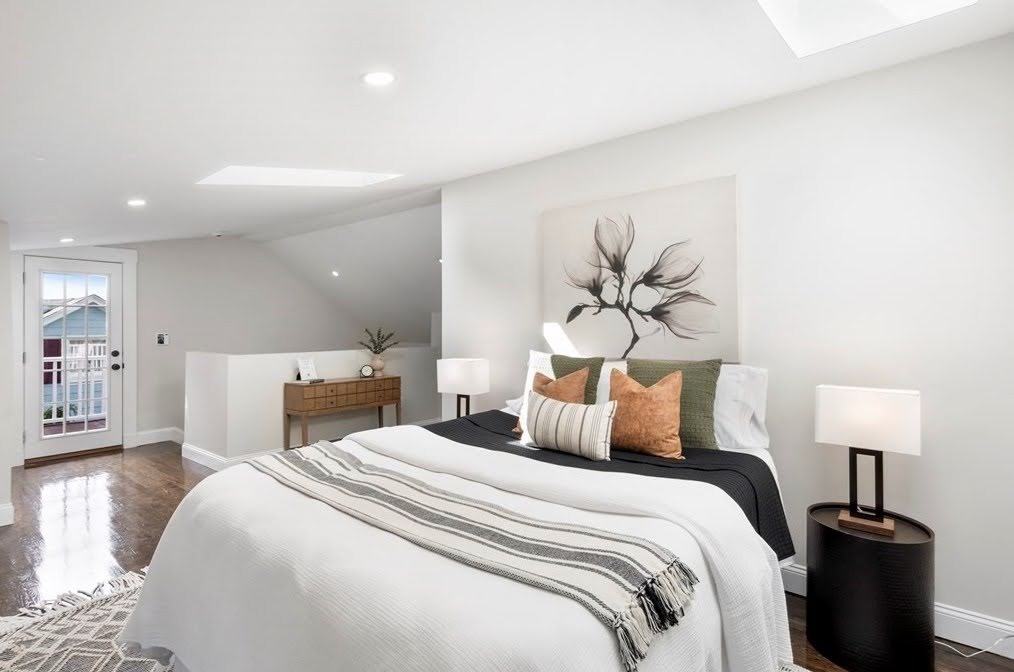
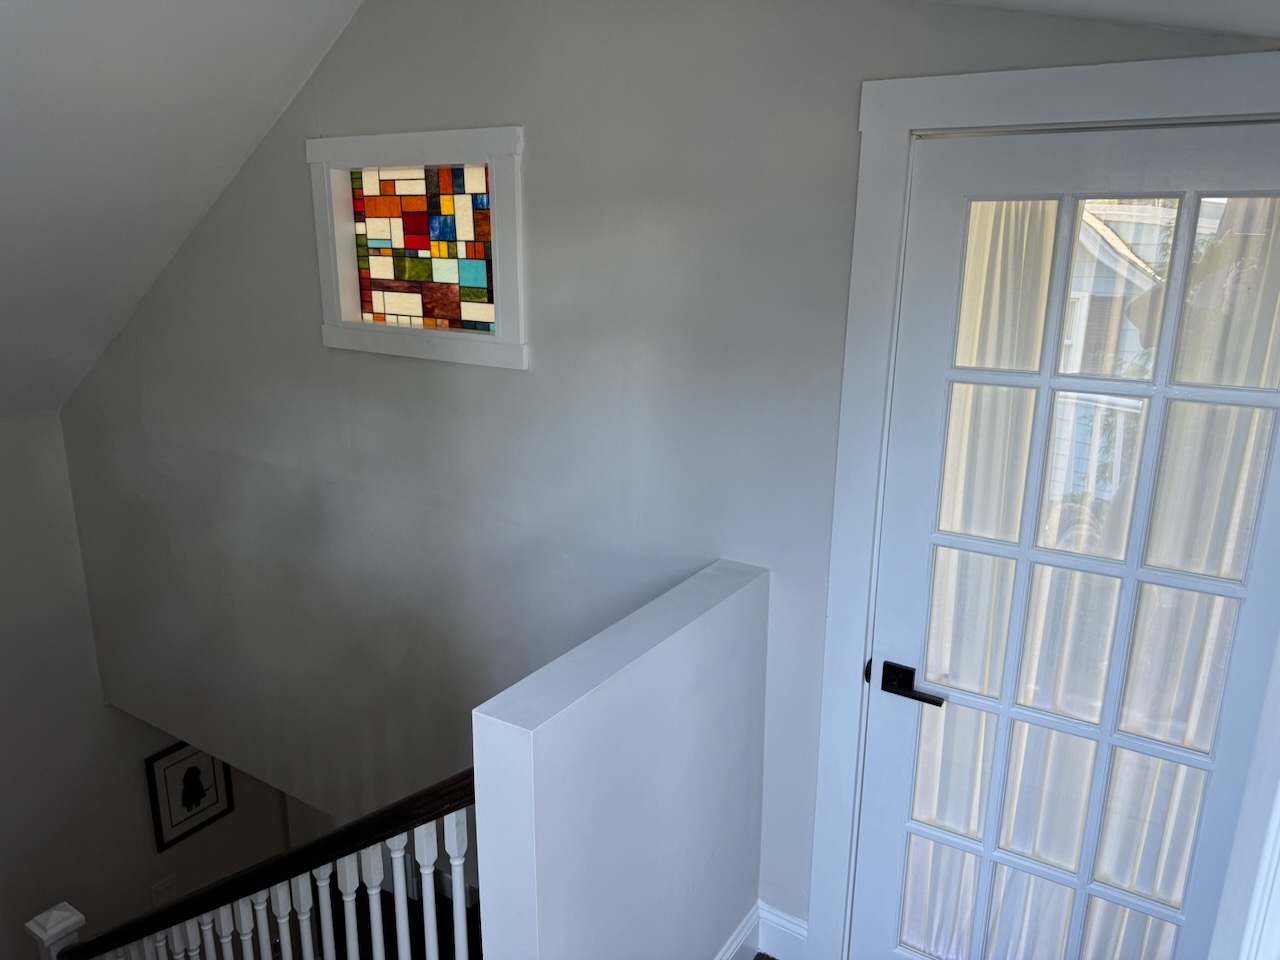
After a couple of years we decided that it was time to take action and to build out a full wall with a door. One concern was to avoid making the room seem darker and smaller. We decided to put a window in the wall (we ended up with stained glass) and to install a mostly glass door, similar to the existing balcony door. The glass door and stained glass window would allow light to pass in both directions between the bedroom with its two skylights and two windows, and the stair landing with its glass door looking out at the balcony and surrounding trees.
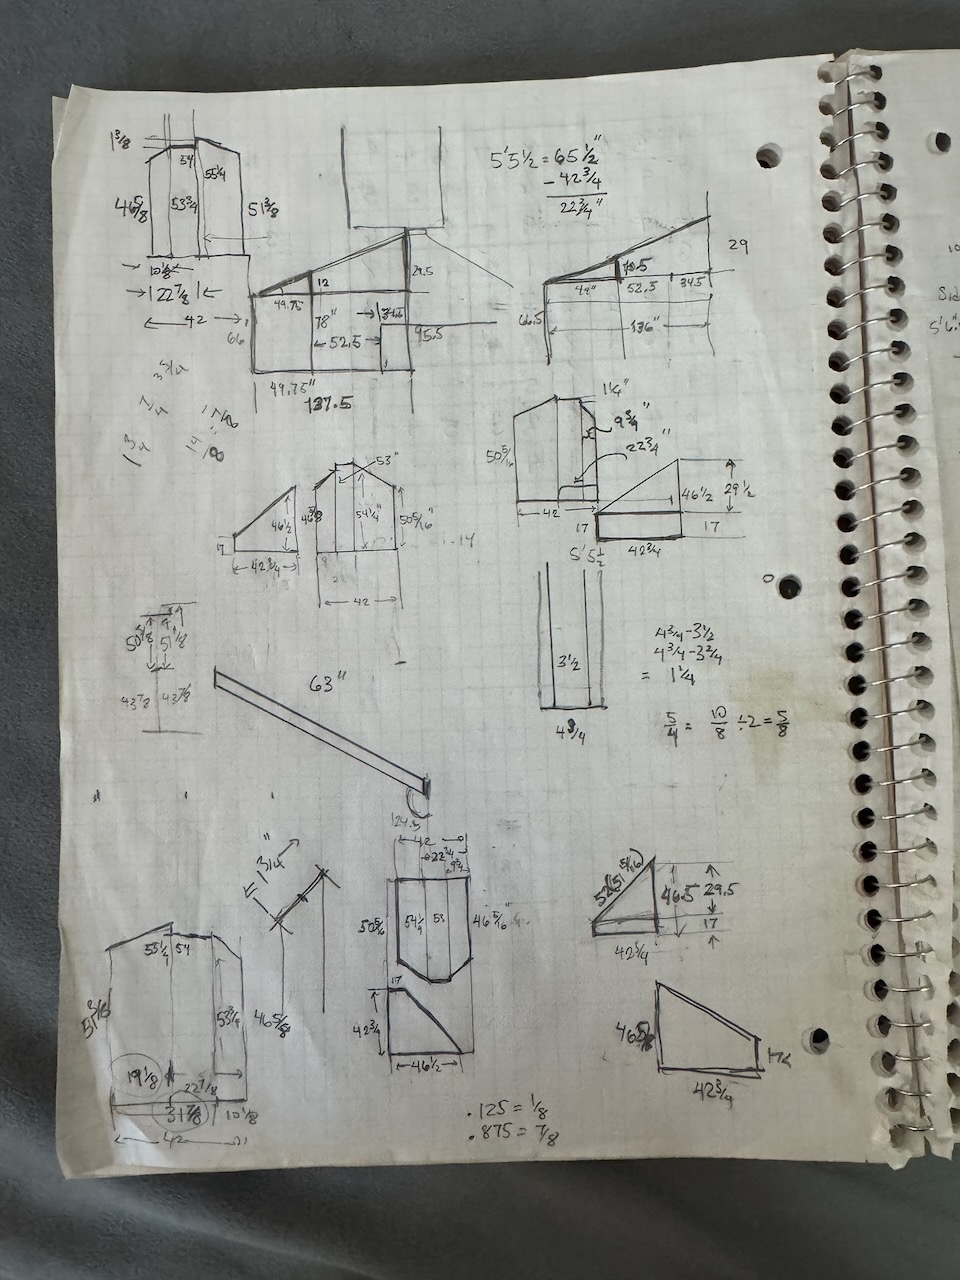
I started by getting out some graph paper and taking a first set of measurements.
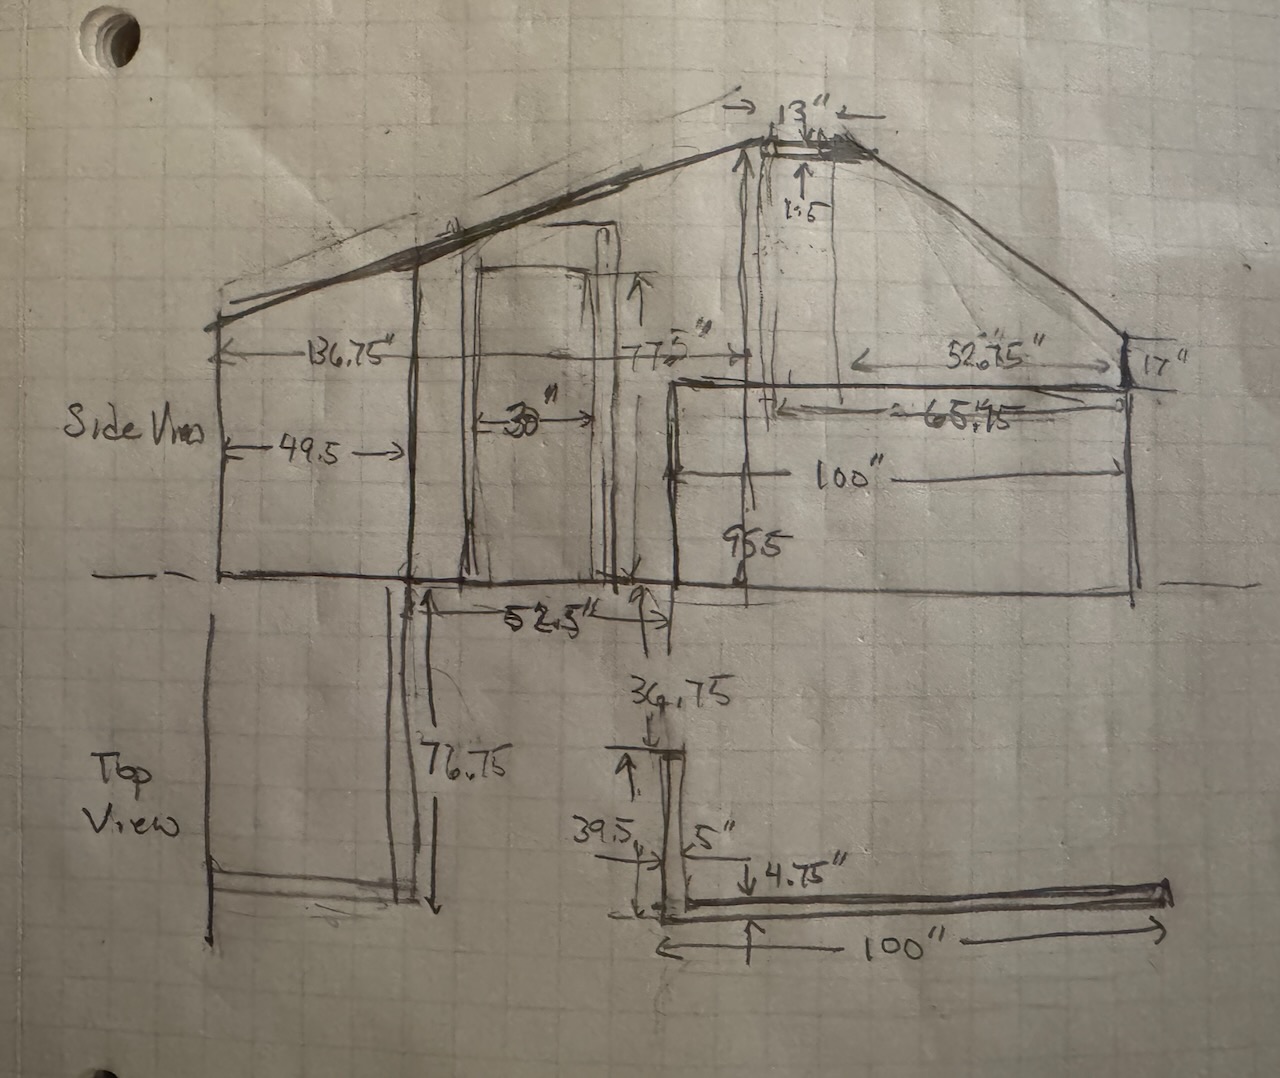
One of the interesting things I found from the first set of measurements is that the corner of the wall across from the stairs did not quite line up with the half wall. The difference ended up being half an inch (76.75” - (36.75” + 39.5”)). This resulted in a little corner in the wall once everything was completed.
So many angles
The most complicated part of the design and building process was the two different slanting roof angles joined by a central flat beam.
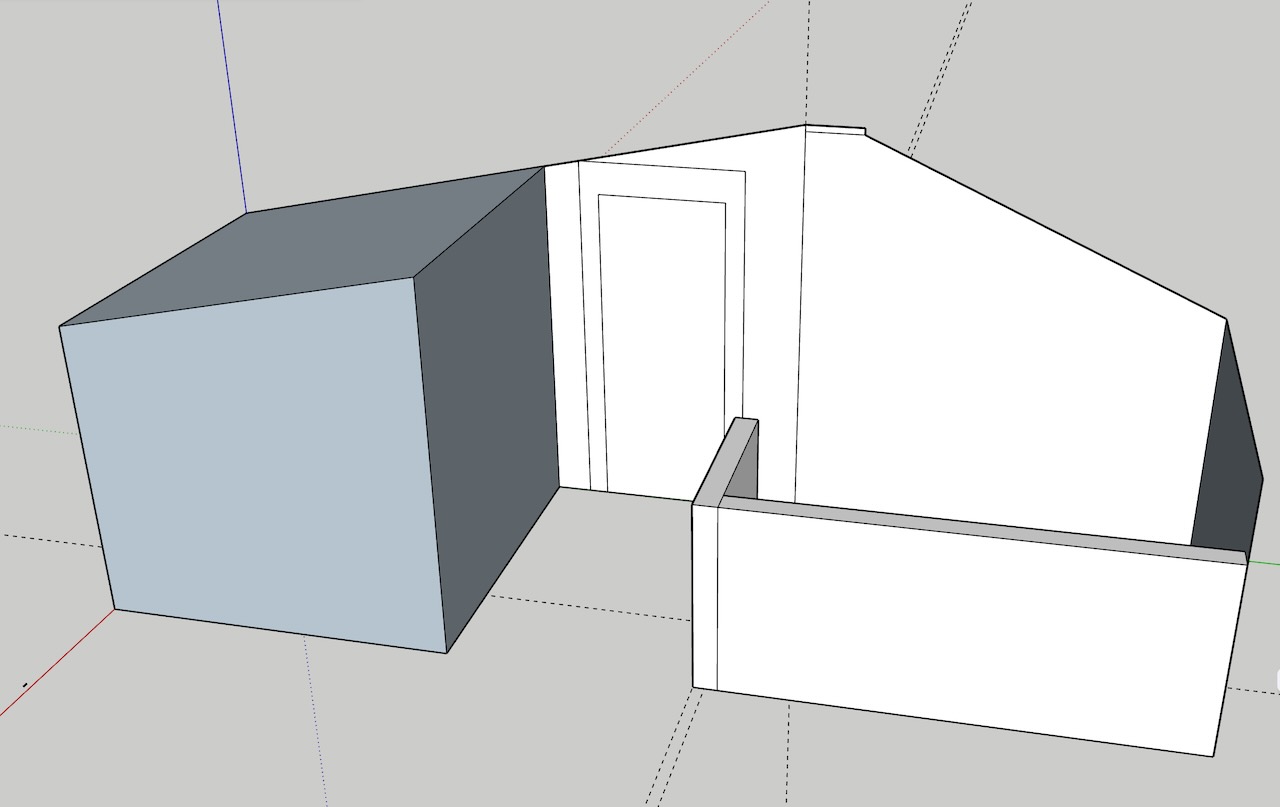
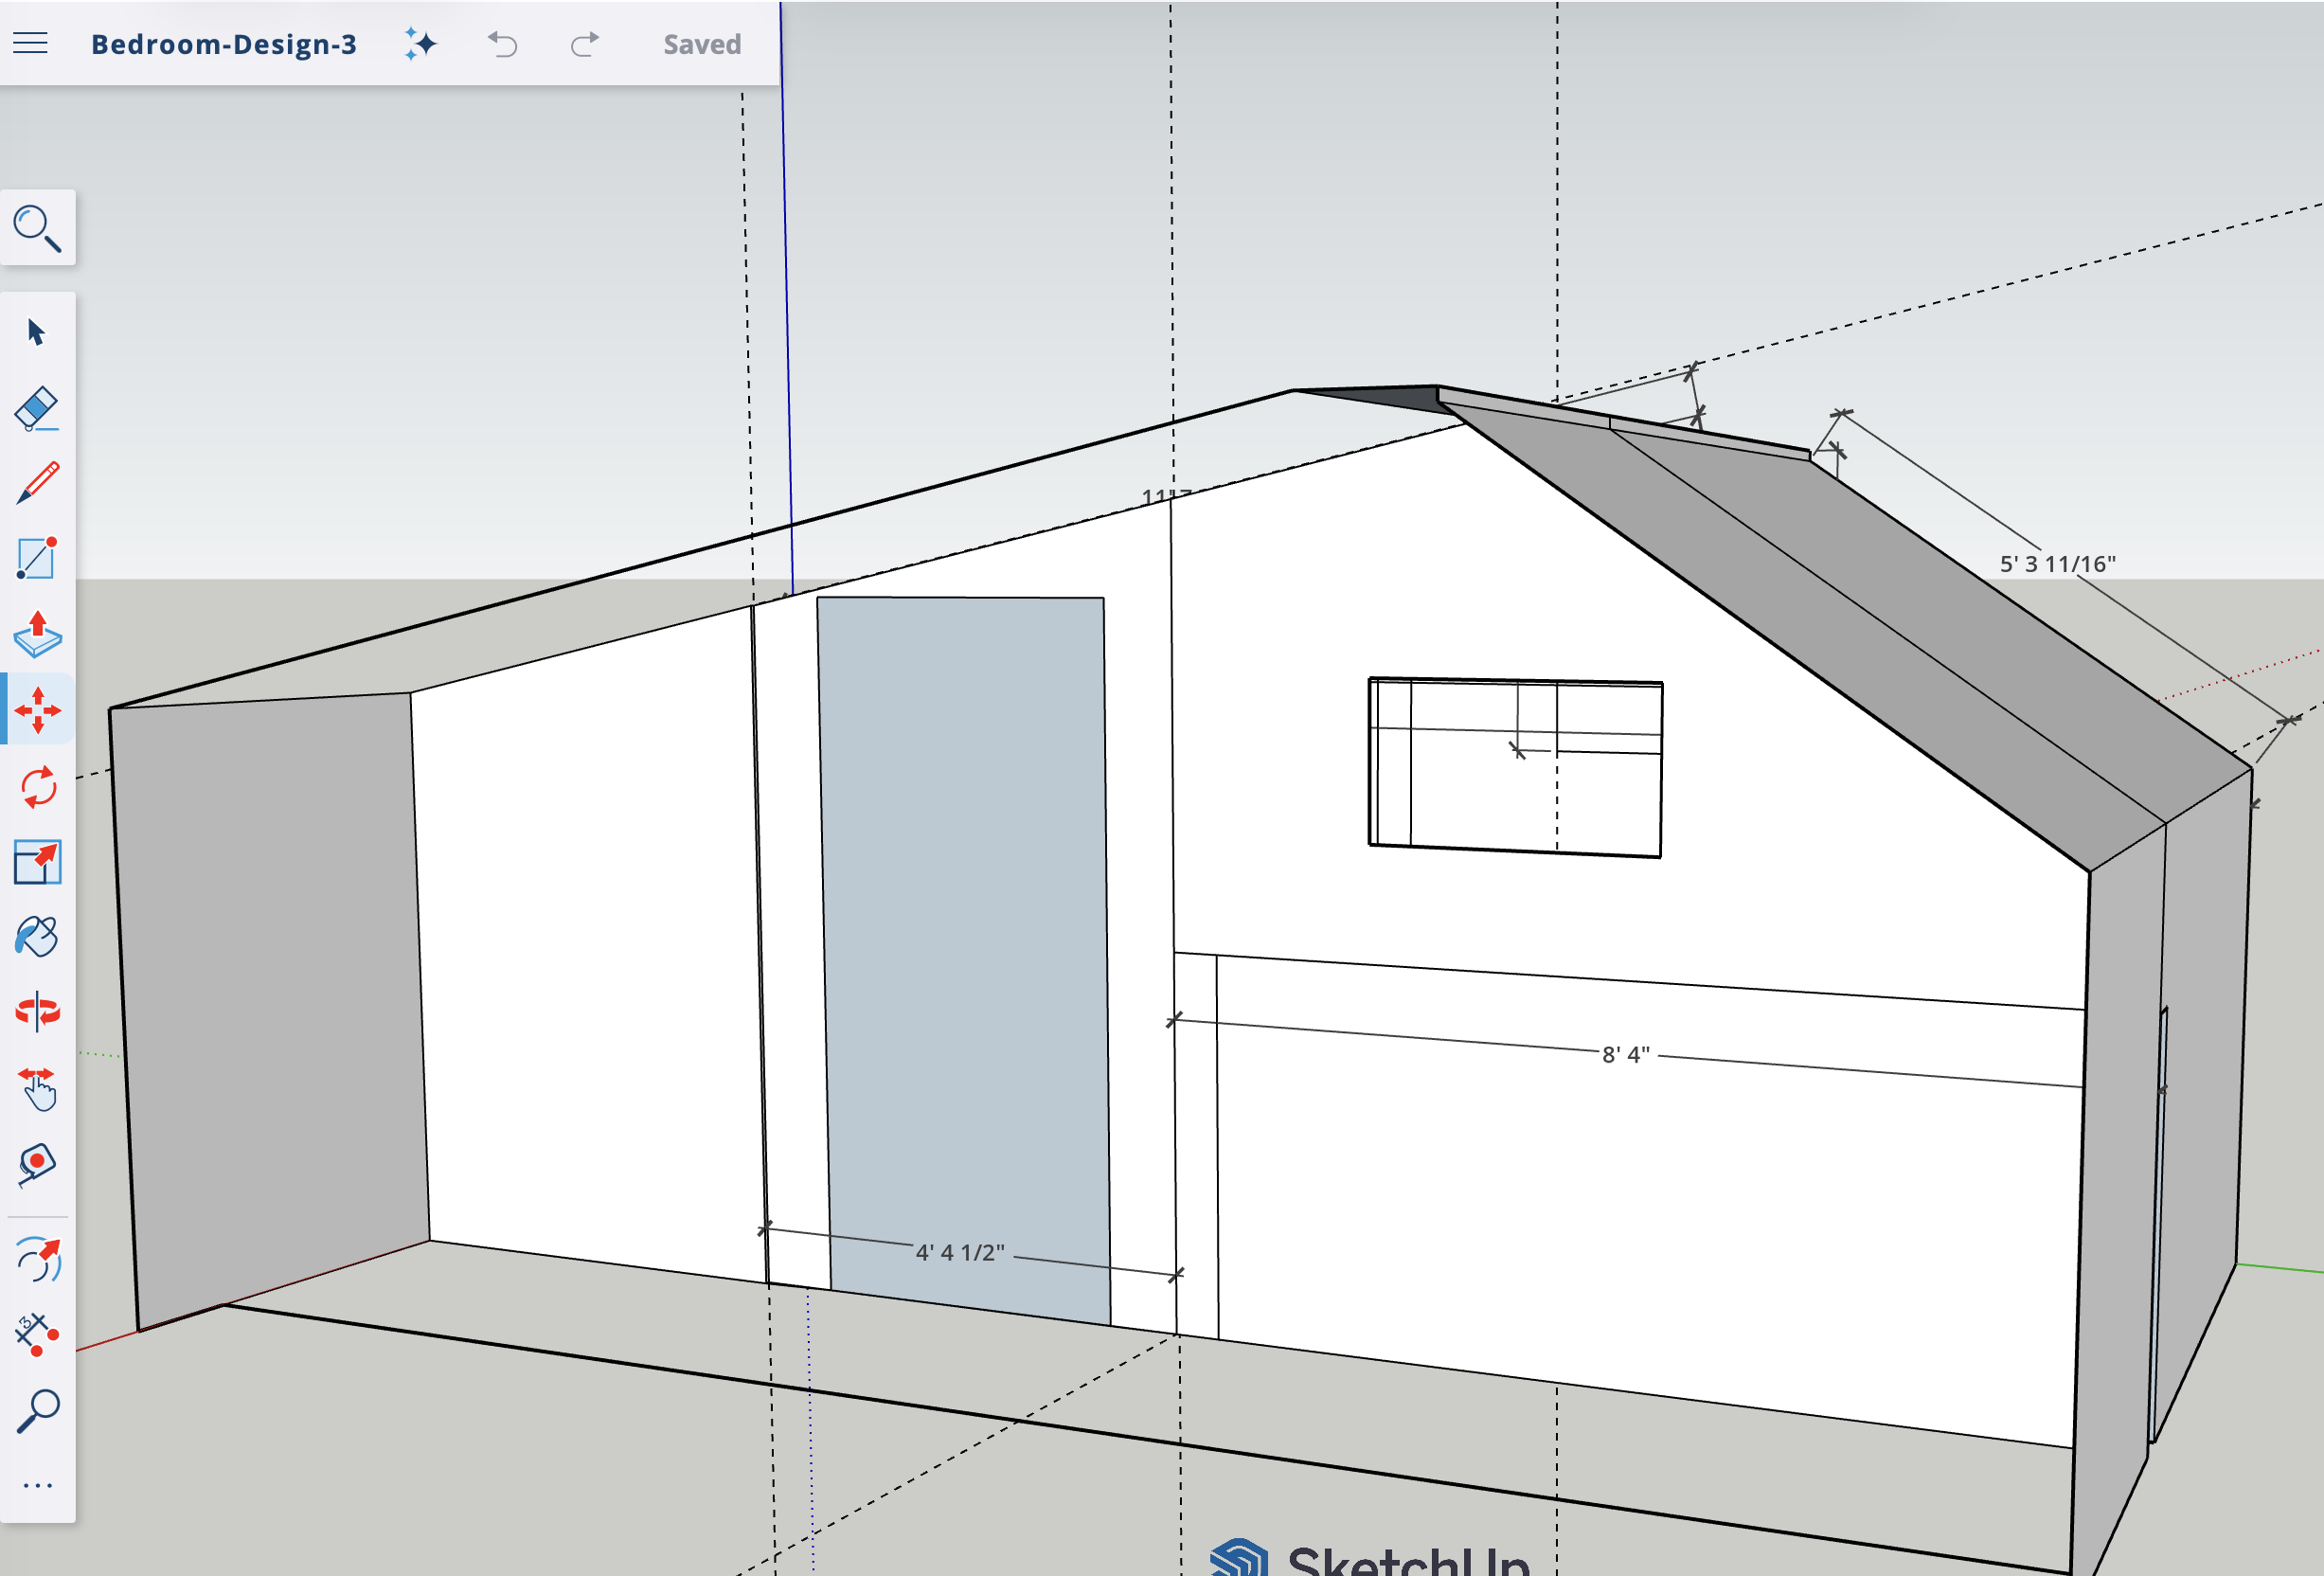
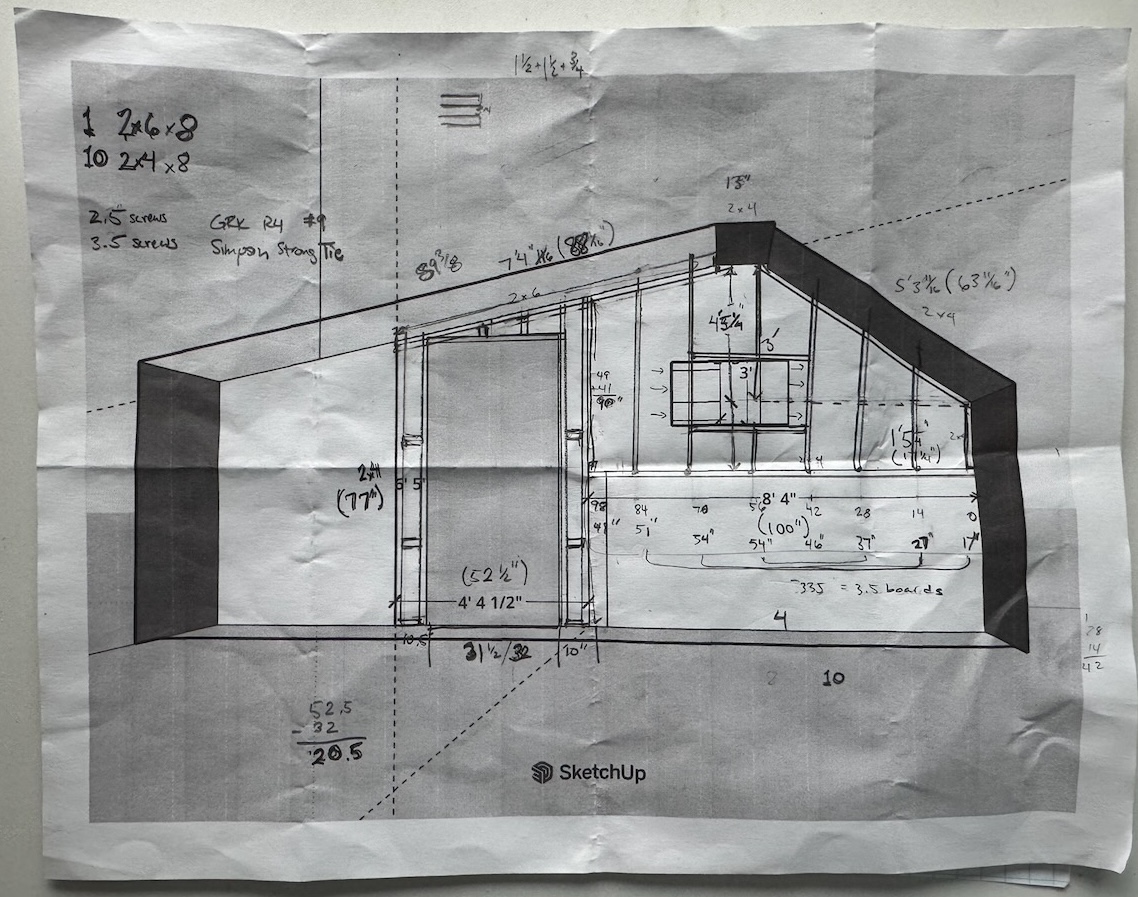
Eventually I ended up modeling it out in the SketchUp 3-D CAD program, which allowed me to visualize both the before and after states in relatively high fidelity.
Tying into the existing structure
I needed to figure out where studs, beams, and joists were in the existing structure to allow sturdy attachment of the new structure to the existing structure. Stud finder devices and drilling little holes were somewhat helpful, but I ended up removing some squares of wallboard to get a full view of what was available. All of the test holes were covered up by new framing and drywall.
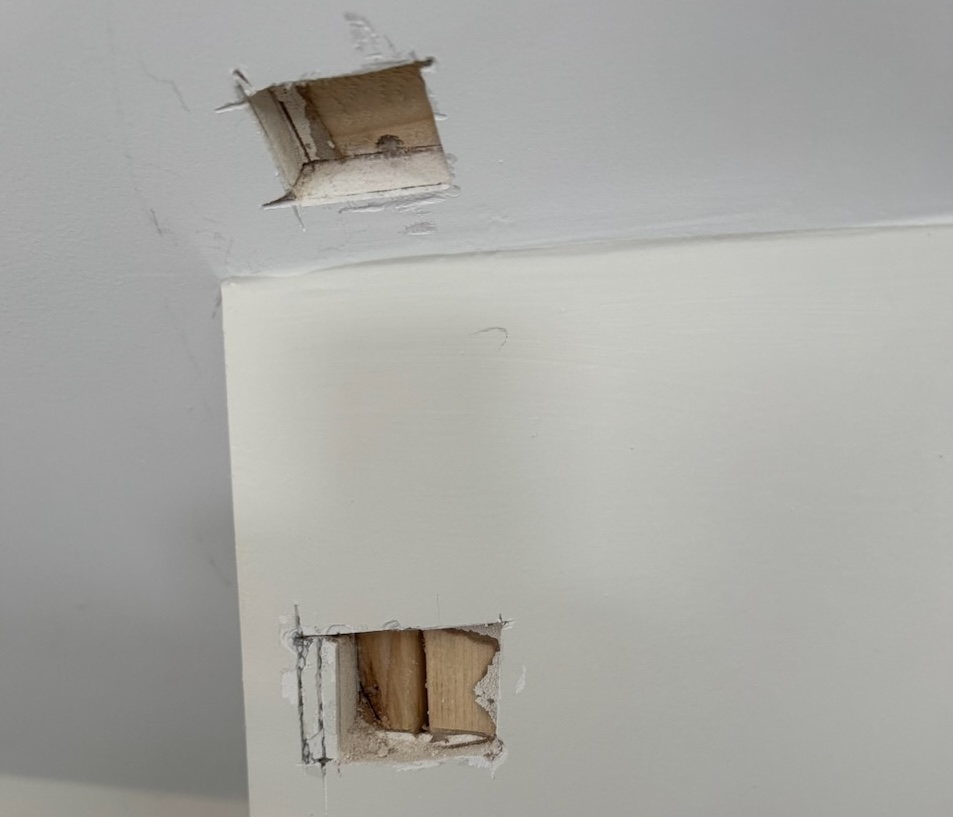
I originally thought that I was going to need something wider than a two-by-four to overlap enough with the existing structure, but I was able to do everything with two-by-fours, which resulted in a much better-looking final product.
Framing
I used a combination of digital and analog models to estimate the number of two-by-fours I would need to buy. I printed out a view of the Sketchup model and then drew on it with a pencil.
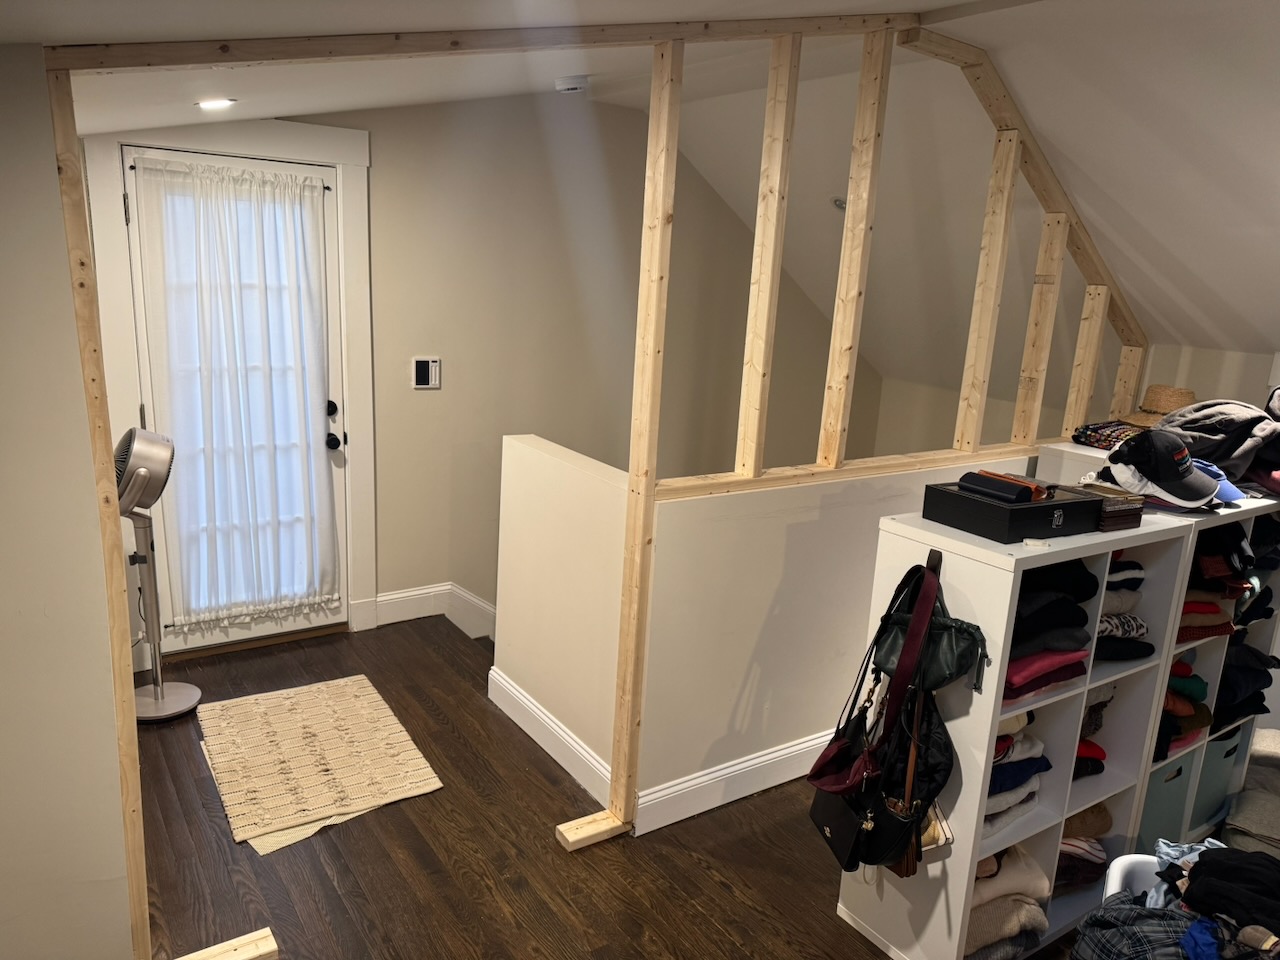
The first round of framing went quickly. I centered the framing on the existing half wall to achieve a flat wall on both sides. I used an old and very basic laser level to shoot lines across the door opening. I thought about springing for one of the fancier laser levels, but the old one ended up working well enough.
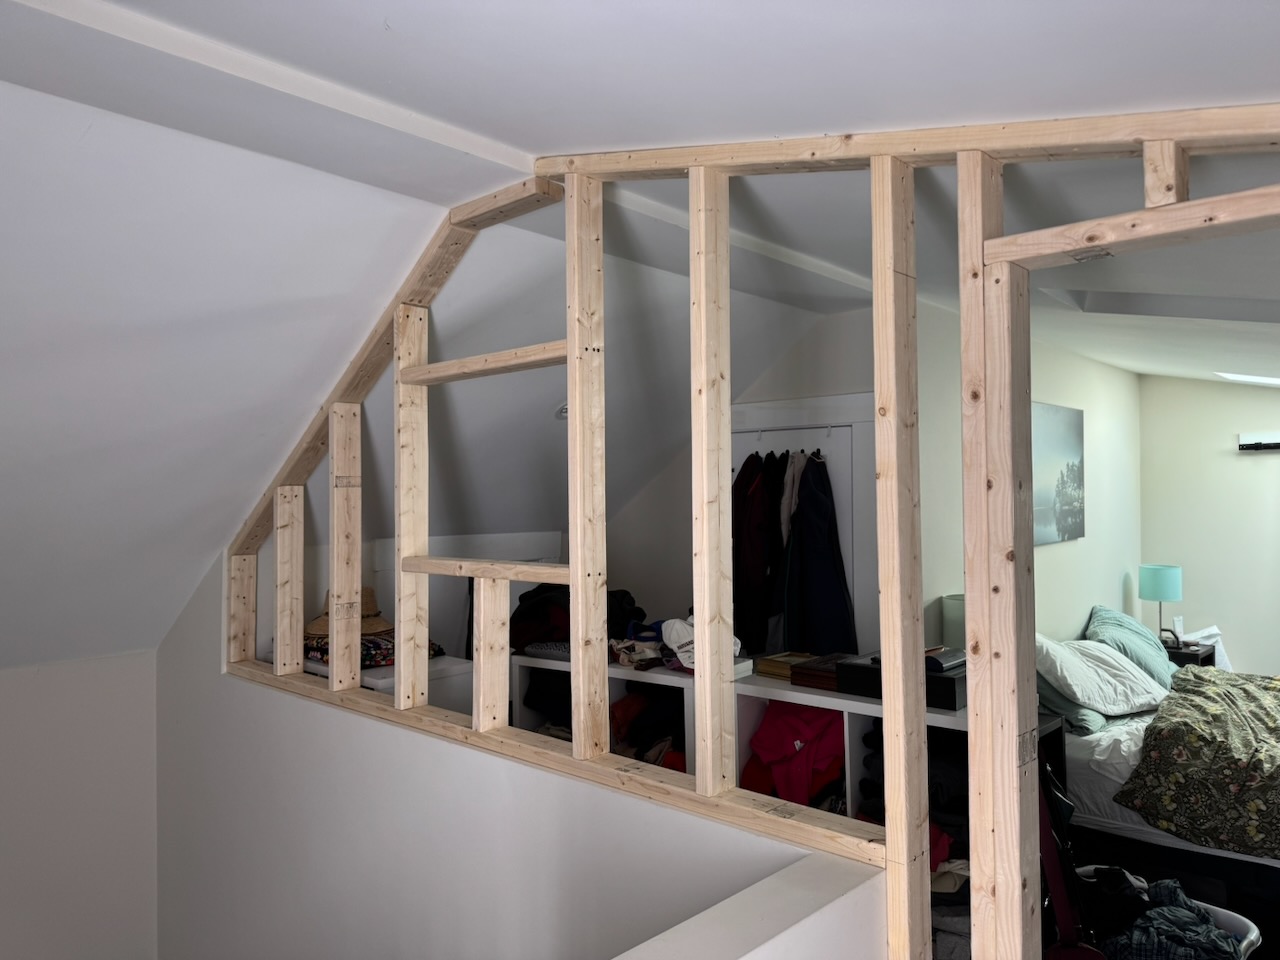
I framed the door and window openings a few days later. As usual, the trickiest part was the ceiling angle and how it forced the header at the top of the door opening to be cut at the same slightly-sloping angle.
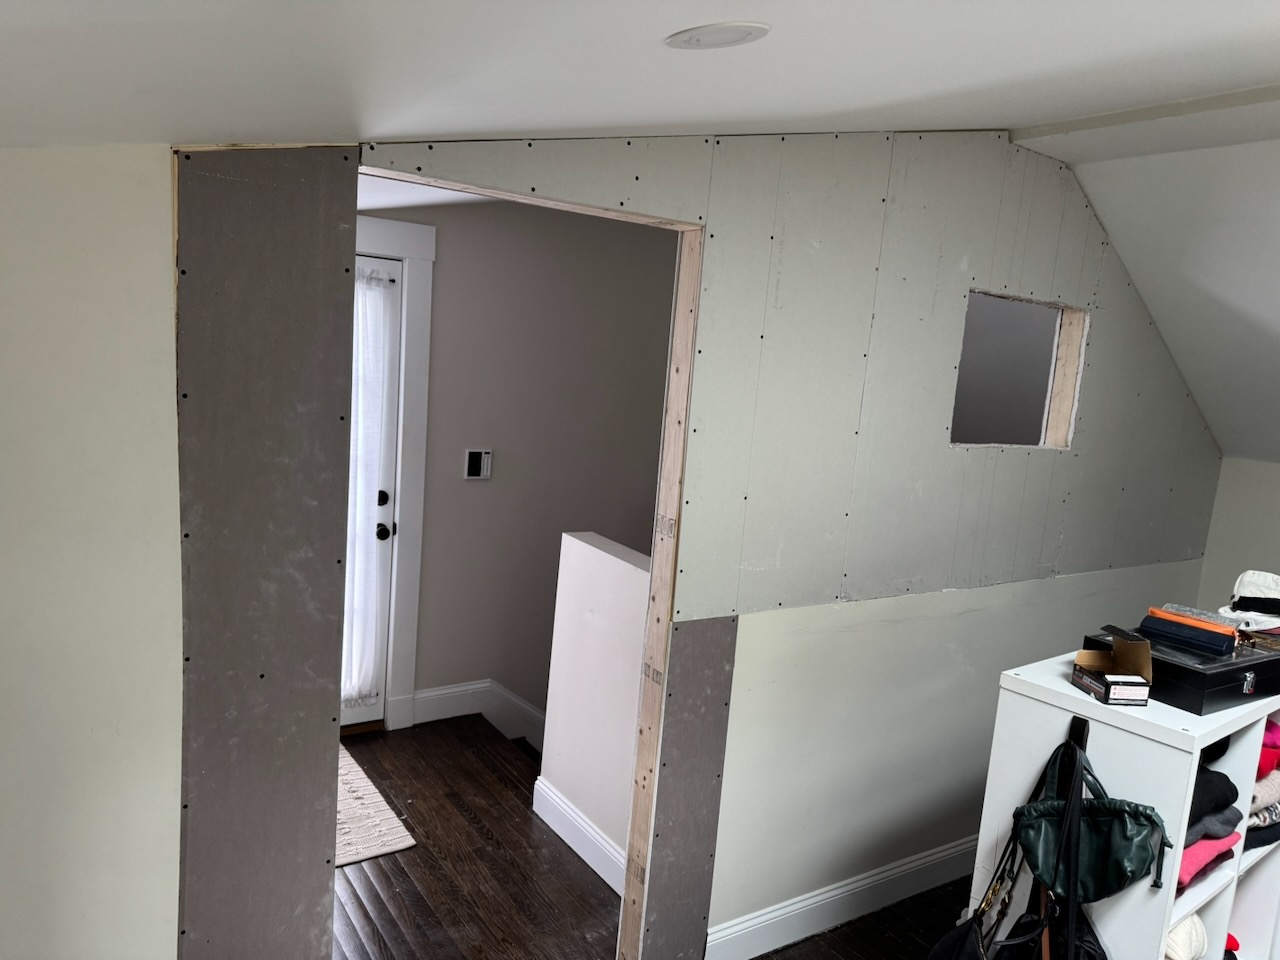
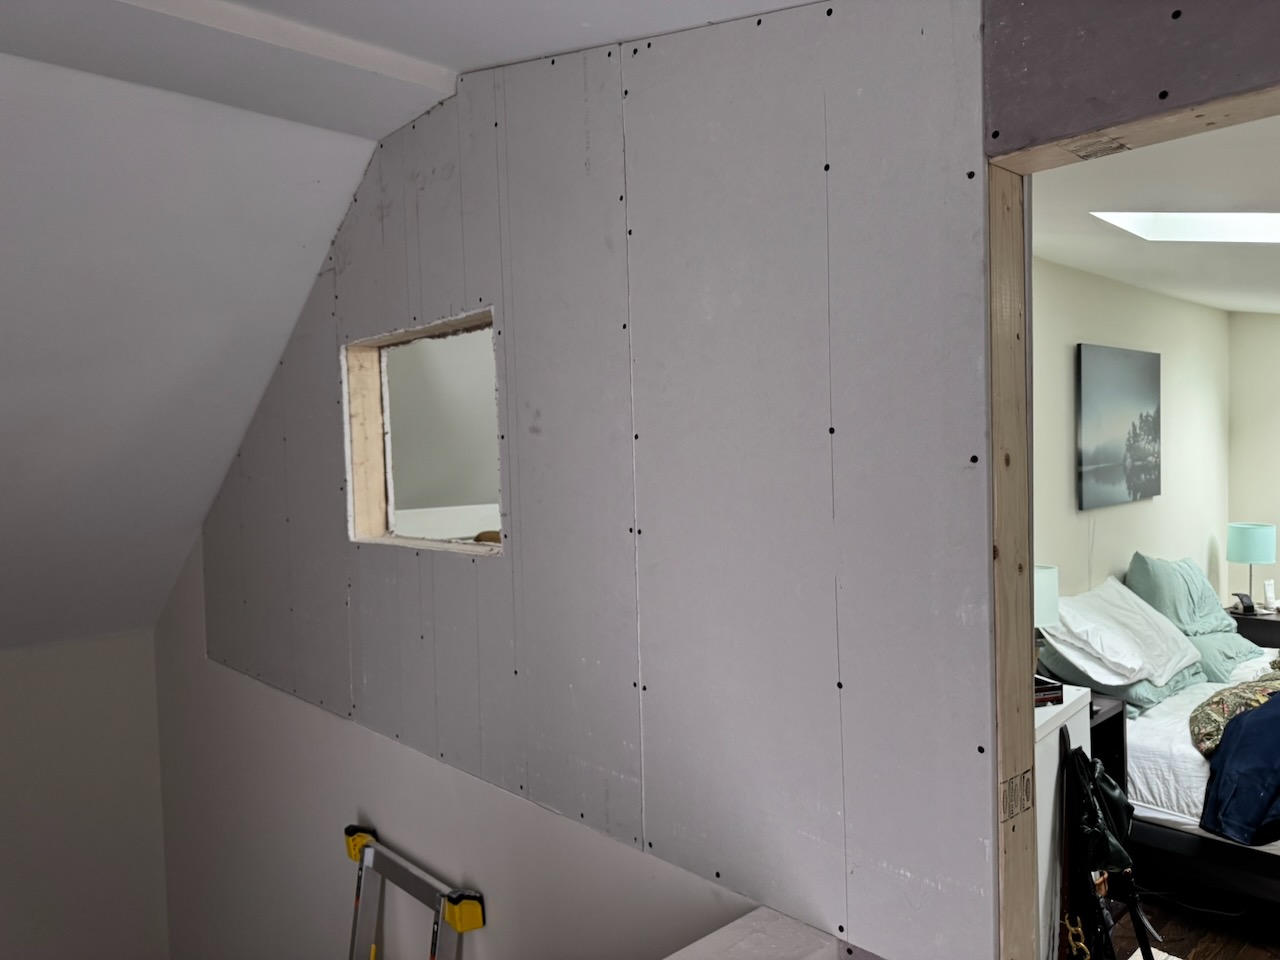
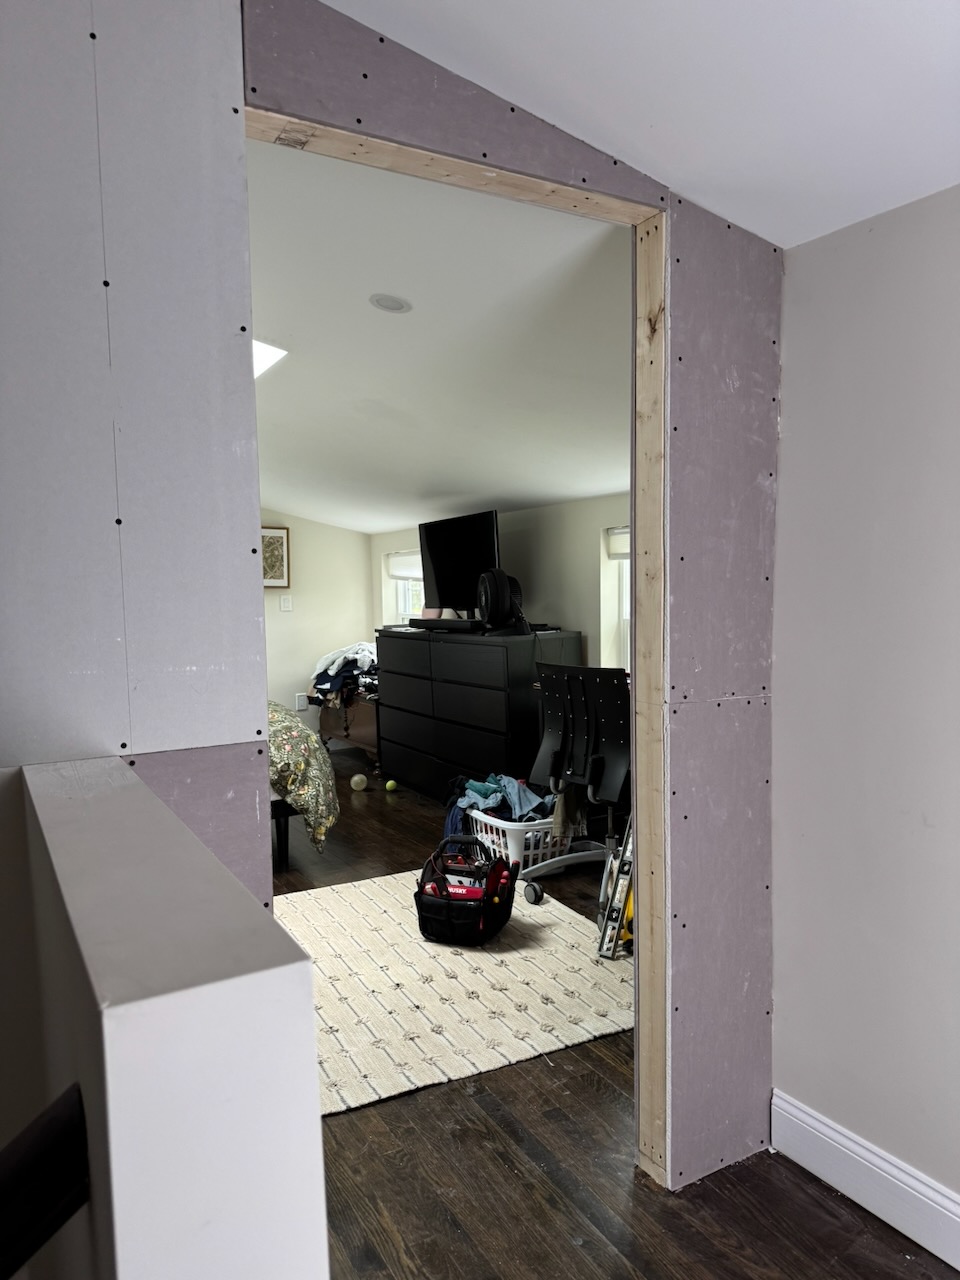
Next came the drywall, which was the first part of the project that required me to work from the back side of the wall where there is a significant drop down to the second floor, requiring a ladder to do the work.
Drywall installation
The two hardest parts about putting up the drywall were:
- Funky angles, notches, and cut-outs needed on the roof line, and
- Standing on a ladder to place and fasten the drywall from the stairway side of the wall.
Door and window installation
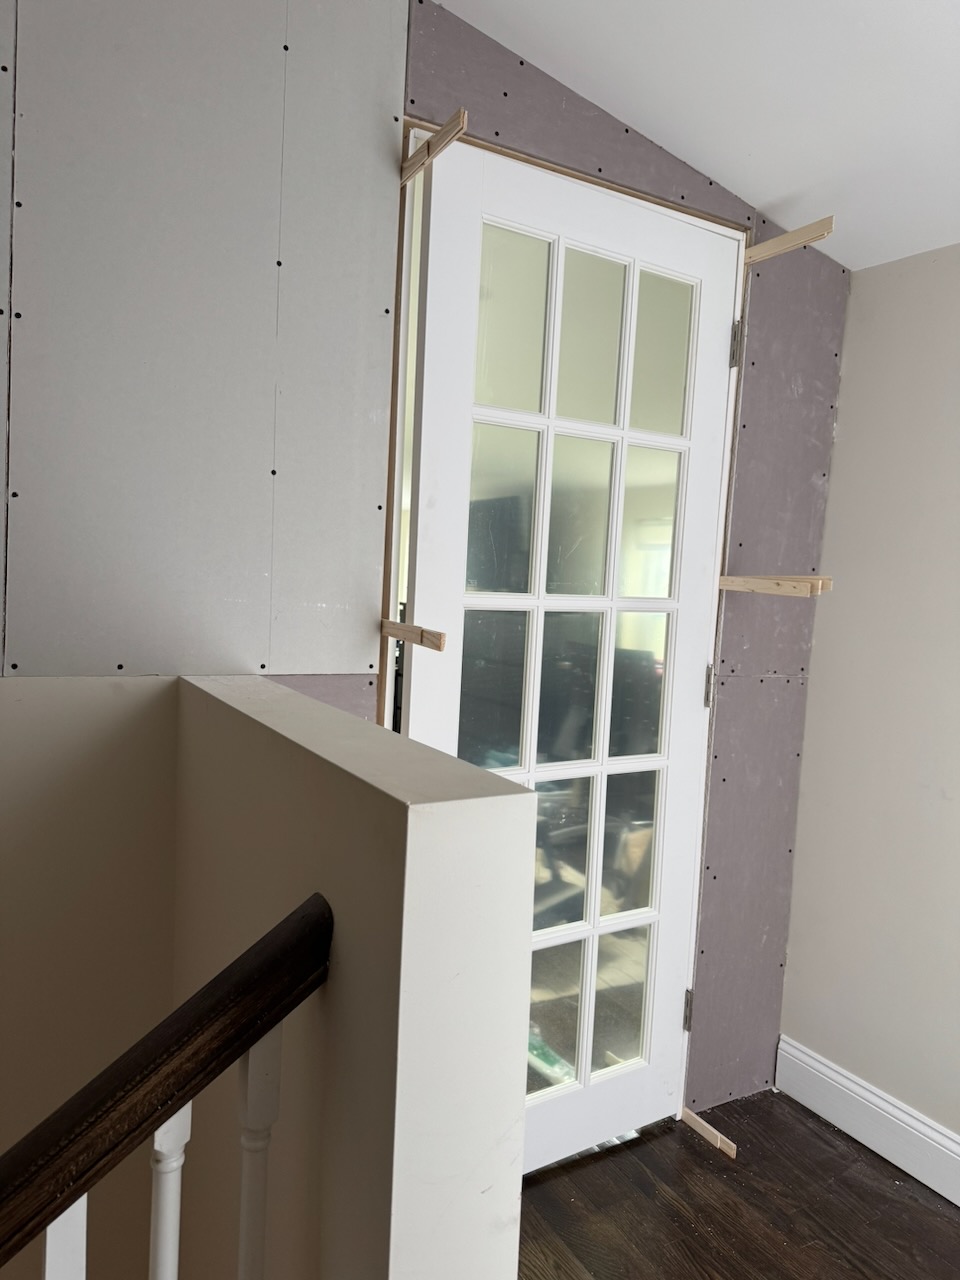
I decided to spring for a pre-hung door because I was already pushing the limits of my interior framing experience. I watched several door installation videos on YouTube and got myself a longer level, which allowed me to get the door level and plumb, and open and close easily.
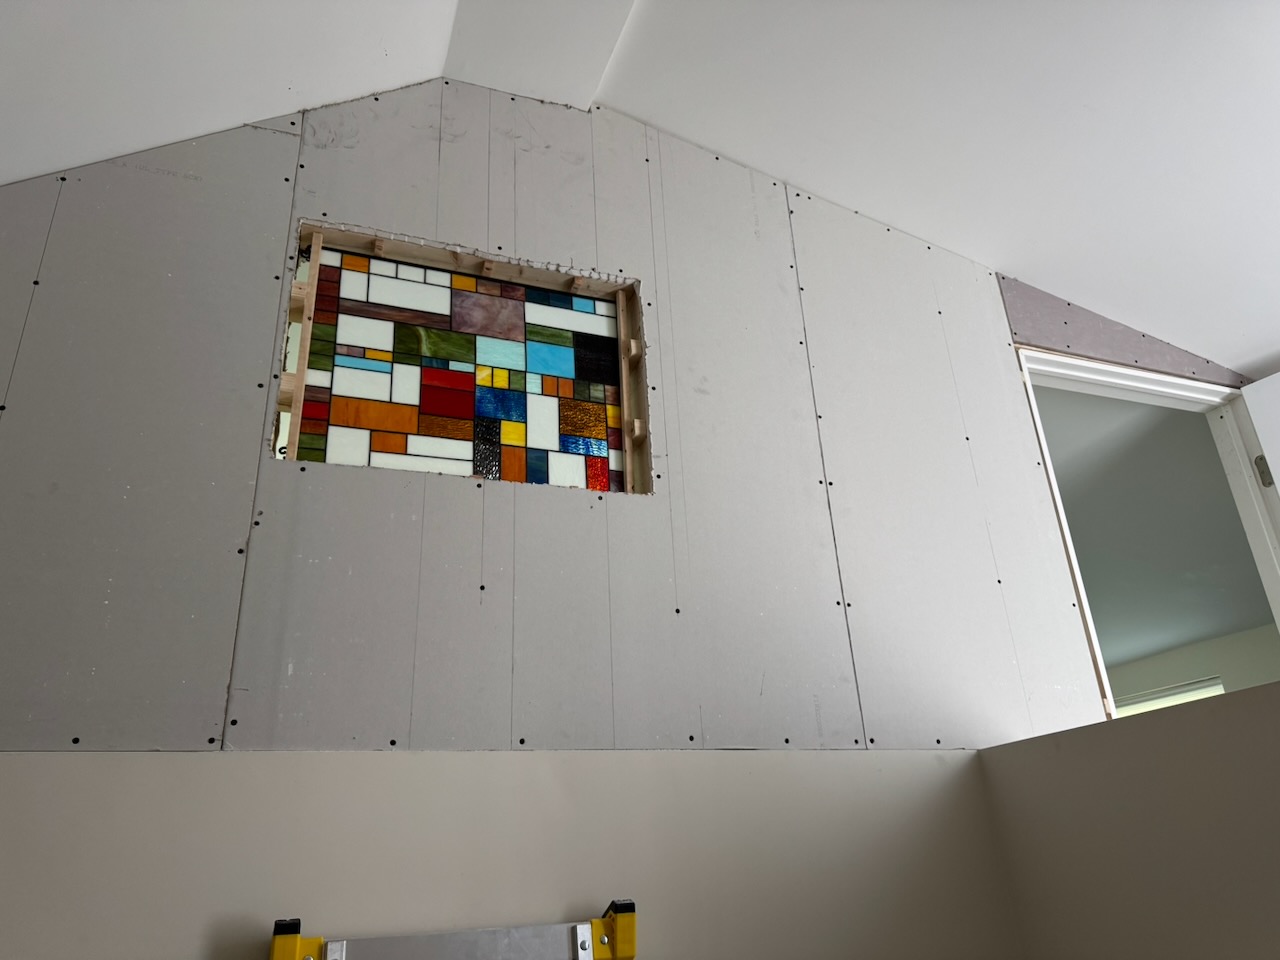
We used an opaque stained glass window to allow light through while still providing privacy. The glass was sold as a decorative hanging, but worked well in this slightly different application.
Taping, mudding, and trim
I had no experience taping and mudding drywall, so I watched a lot of videos and put off that part of the project for a few weeks. We were already able to use the door and enjoy the extra privacy.
The taping and mudding was the messiest part of the process, primarily because of the required sanding to end up with smooth, flat surfaces.
Installing the trim was much easier, from my point of view. The trickier areas were around the stained glass window, which required more care and pieces of wood than I had originally planned, and the little corner caused by the half-inch misalignment between the original half wall and the landing corner, which required some custom angling and shimming of the trim to make a nice joint.
Painting
I needed three colors and types of paint:
- Wall
- Trim
- Ceiling
Even though there wasn’t a lot of area to cover, the multiple angles and surfaces led to several partial days of painting.
The finished product
We are really happy with the appearance and functionality of the new wall, window, and door. It functions exactly as intended and it matches the existing look of the rest of the house. I also ended up putting some existing skills to use and learning a bunch of new ones.
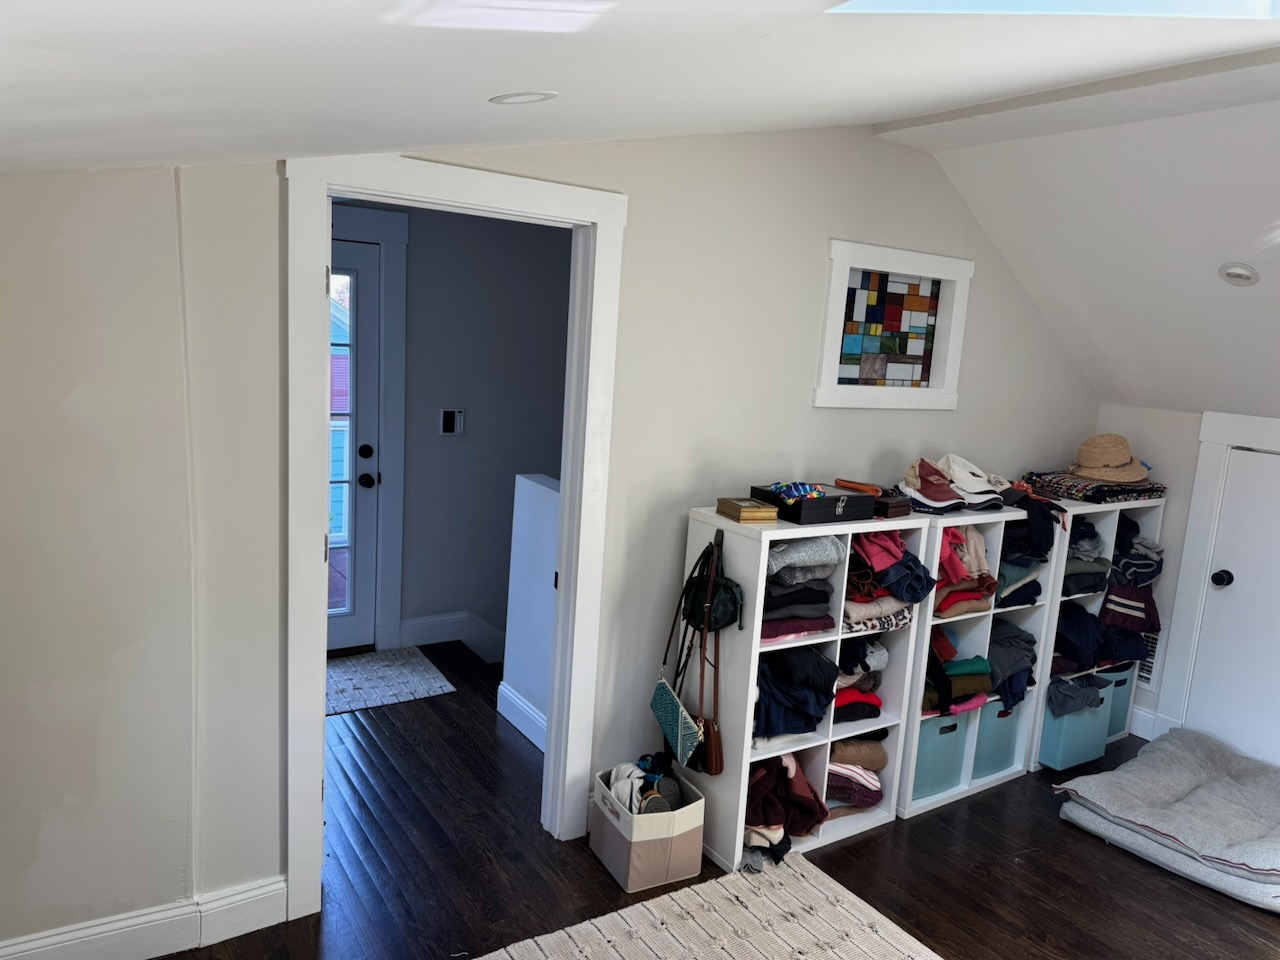
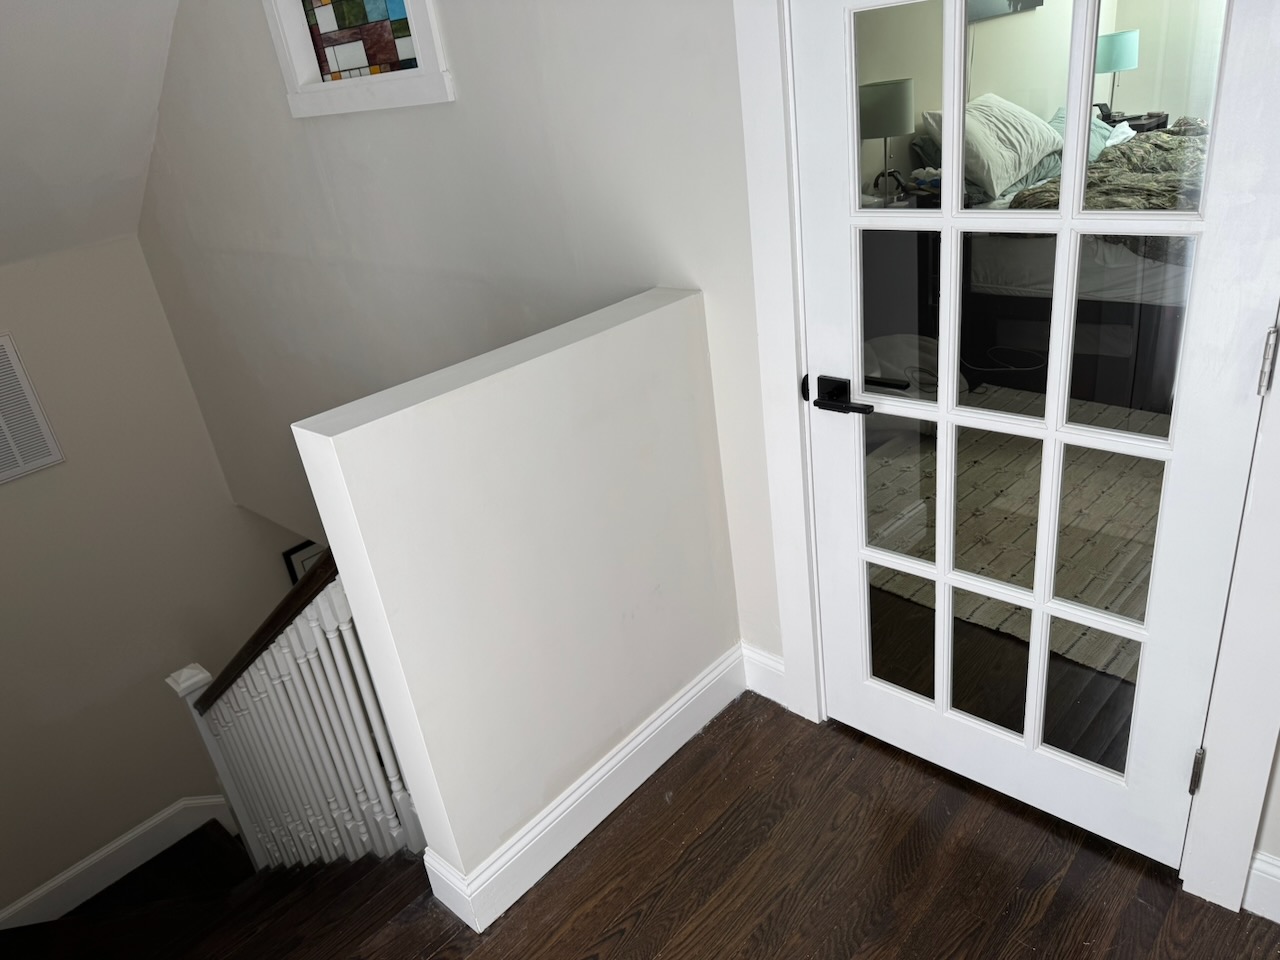
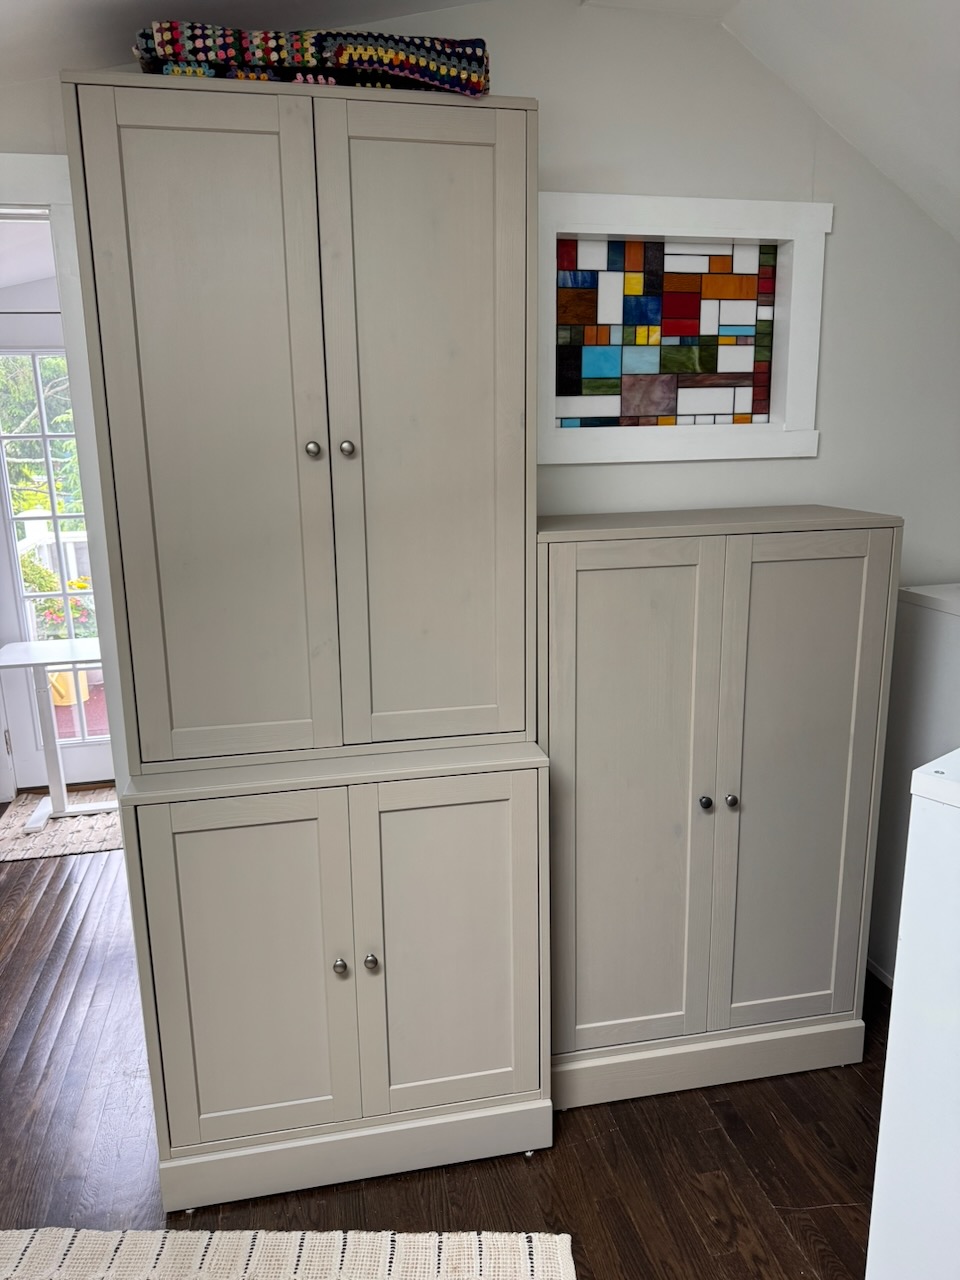
We ended up putting in some new cabinet storage against the new wall.